Securing Application Access With K8s NGINX Ingress Controllers, OAuth2, and GitLab
Many application do not provide built-in authentication or access control out-of-the-box. Due to the sensitive data these applications process, this can be a major problem and it is often necessary to provide some type of security. Luckily, there are many ways that this can be done. One of the most popular patterns is to use an application called an "Access Gateway" that sits in front of a sensitive system and uses a reverse proxy to load balance traffic after a user has authenticated.
Within the open source ecosystem, there are many applications that can provide this functionality (such as Okta and Kong), but one of the best access gateways is available right at your fingertips. It is built into the popular NGINX web server and can be enabled via Kubernetes NGINX Ingress controllers.
NGINX is the route Oak-Tree has taken to secure much of our infrastructure. We use Kubernetes NGINX ingress controllers, an OAuth2 proxy (which manages the OpenID connect workflow and issues oAuth2 tokens), and an identity provider (such as GitLab or Acorn) to authenticate users and verify that tokens are from a trusted source.
In this article, we'll look at how to deploy these systems for securing a web application using a process that can be applied to any application or microservice. We'll use Apache AirFlow as an example. Here's what needs to be done
- Configure an identity provider (GitLab is used here) to allow authentication via OpenID Connect.
- Generate a cookie secret that will be used to create secure cookies to identify users after they have authenticated.
- Deploy an
oauth2-proxyapplication that handles the business of authenticating users and issuing the secure cookies. - Create NGINX Ingress manifests to route users to the authentication service and protected service after authentication.
- Test the ingress endpoints.
Step 1: Configure a GitLab OpenID Application
Before doing anything else, you need to create a GitLab OpenID Connect application.
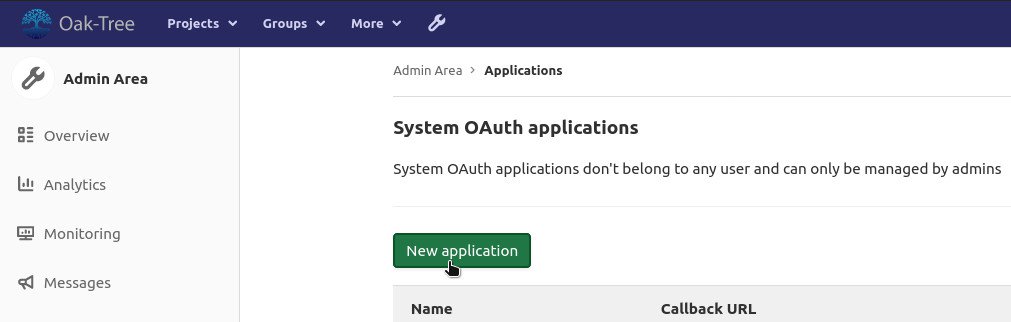
You can create a new application by opening the "Applications" dashboard in the "Admin Area." From there, click on the "New Application button." You will be prompted to provide an application name, a redirect URI, and to set the applications permissions. As you do, keep in mind:
nameis an application label for your referenceredirect_uriis the endpoint to which GitLab should send users after they have authenticated, and should be of the formhttps://<my-cloud-application-url>/oauth2/callback- Scopes define what level of access the application will have to the GitLab user profile. For most applications, you will want to check
openid,profile, andemail.
Once the application has been created, you should see something similar to the following page:
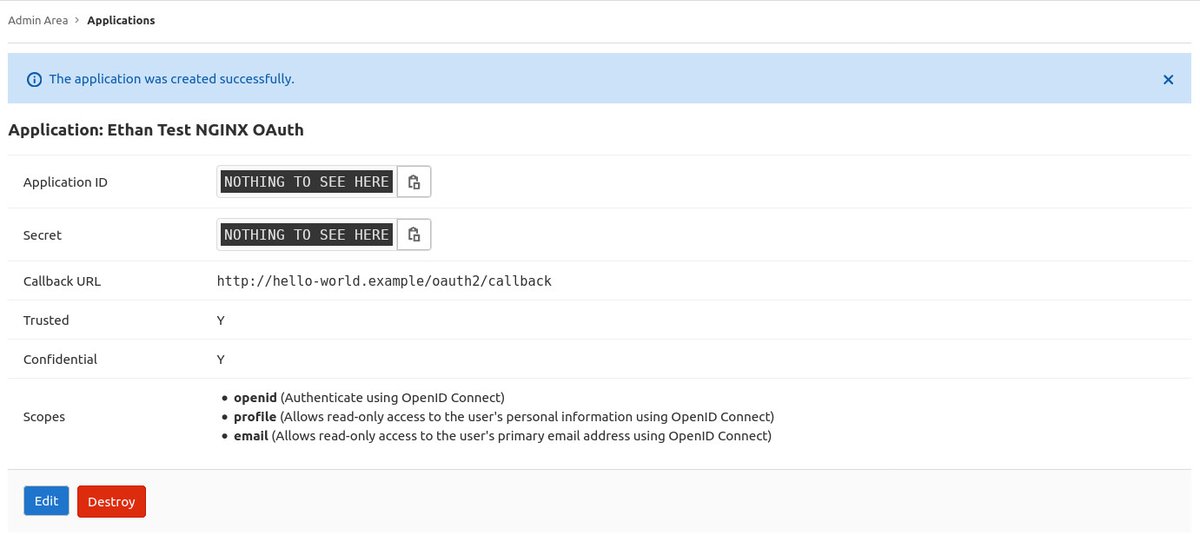
Make note of the following; they are important for future steps:
- Application ID
- Secret
Step 2: Generate a Cookie Secret
Next, we need to generate a Cookie Secret for NGINX. The cookie secret is used by NGINX as a seed string to generate secure cookies, which are used by NGINX to identify users who are interacting with the gateway.
The code in the listing below can be used to generate a Base64 encoded string that will serve as the --cookie-secret option for the proxy.
python -c 'import os,base64; print(base64.b64encode(os.urandom(16)).decode("ascii"))'
Step 3: Deploy the OAuth2 Proxy
Now, we need to create the Kubernetes manifests to deploy the OAuth2 proxy application and create an OAuth service endpoint. These endpoints will be important as they handle the business of authenticating users and issuing the proof that a user has been authorized to use the protected application.
The manifest below includes a Kubernetes deployment and service for OAuth2 proxy:
- Replace the value of
--redirect-urlwith theredirect_uriused during the creation of the GitLab application - Update
OAUTH2_PROXY_CLIENT_IDwith the Application ID - Update
OAUTH2_PROXY_CLIENT_SECRETwith the Secret - Update
OAUTH2_PROXY_COOKIE_SECRETwith the Cookie Secret generated in the previous step - Replace
<my-gitlab-url>with the URL of the GitLab instance you are using as an identity provider
# oauth2-proxy.yaml
apiVersion: apps/v1
kind: Deployment
metadata:
  labels:
    app: oauth2-proxy
  name: oauth2-proxy
spec:
  replicas: 1
  selector:
    matchLabels:
      app: oauth2-proxy
  template:
    metadata:
      labels:
        app: oauth2-proxy
    spec:
      containers:
      - name: oauth2-proxy
        image: quay.io/oauth2-proxy/oauth2-proxy:latest
        imagePullPolicy: Always
        ports:
        - containerPort: 4180
          protocol: TCP
        args:
        - --provider=gitlab
        - --upstream=file:///dev/null
        - --http-address=0.0.0.0:4180
        - --cookie-secure=false
        - --redirect-url=https://<my-cloud-application-url>/oauth2/callback
        - --skip-provider-button=false
        - --set-xauthrequest=true
        - --skip-auth-preflight=false
        - --skip-oidc-discovery
        - --oidc-issuer-url=https://<my-gitlab-url>
        - --login-url=https://<my-gitlab-url>/oauth/authorize
        - --redeem-url=https://<my-gitlab-url>/oauth/token
        - --oidc-jwks-url=https://<my-gitlab-url>/oauth/discovery/keys
        - --email-domain=*
        env:
        - name: OAUTH2_PROXY_CLIENT_ID
          value: <paste-the-application-id>
        - name: OAUTH2_PROXY_CLIENT_SECRET
          value: <paste-the-secret>
        - name: OAUTH2_PROXY_COOKIE_SECRET
          value: <paste-the-cookie-secret>
---
apiVersion: v1
kind: Service
metadata:
  labels:
    app: oauth2-proxy
  name: oauth2-proxy
spec:
  ports:
  - name: http
    port: 4180
    protocol: TCP
    targetPort: 4180
  selector:
    app: oauth2-proxy
To deploy the OAuth2 proxy, use kubectl to create the Kubernetes deployment and service:
kubectl apply -f oauth2-proxy.yaml
Step 4: Create the Ingress Endpoints
The components come together in the form of two NGINX ingress endpoints, each serving a different purpose for the access gateway.
1. Application Endpoint. This endpoint will return a Forbidden (403) error code if the user has not logged in to GitLab (via OAuth2 proxy) and ensures that unauthorized users are not able to access protected applications. The URLs and redirects are provided by two lines in the metadata.annotations section:
nginx.ingress.kubernetes.io/auth-url: "https://$host/oauth2/auth"
nginx.ingress.kubernetes.io/auth-signin: "https://$host/oauth2/start?rd=$escaped_request_uri"
2. OAuth2 Login Ingress. This endpoint exposes a single path, /oauth2, without any security that starts the OpenID redirect workflow (provided by the OAuth2 proxy deployed in the previous step) which allows users to gain access to protected applications.
The manifest in the listing below includes both endpoints:
#oauth2-ingress.yaml
apiVersion: networking.k8s.io/v1beta1
kind: Ingress
metadata:
  annotations:
    nginx.ingress.kubernetes.io/rewrite-target: /
    kubernetes.io/ingress.class: "nginx"

    nginx.ingress.kubernetes.io/auth-url: "https://$host/oauth2/auth"
    nginx.ingress.kubernetes.io/auth-signin: "https://$host/oauth2/start?rd=$escaped_request_uri"

    # These next four lines are only necessary if you're using cert-manager to generate TLS certificates
    ingress.kubernetes.io/force-ssl-redirect: "true"
    ingress.kubernetes.io/proxy-body-size: "1024m"
    nginx.ingress.kubernetes.io/proxy-body-size: "1024m"
    cert-manager.io/issuer: "letsencrypt-staging"

  name: my-cloud-application-ingress
spec:
  tls:
  - hosts:
    - <my-cloud-application-url>
    secretName: my-cloud-application-tls
  rules:
  - host: <my-cloud-application-url>
    http:
      paths:
      - path: /
        backend:
          serviceName: airflow
          servicePort: 8080
---
apiVersion: networking.k8s.io/v1beta1
kind: Ingress
metadata:
  annotations:
    nginx.ingress.kubernetes.io/rewrite-target: /oauth2
    kubernetes.io/ingress.class: "nginx"

    # These next three lines are only necessary if you're using cert-manager to generate TLS certificates
    ingress.kubernetes.io/force-ssl-redirect: "true"
    ingress.kubernetes.io/proxy-body-size: "1024m"
    nginx.ingress.kubernetes.io/proxy-body-size: "1024m"

  name: my-cloud-application-ingress-oauth2
spec:
  tls:
  - hosts:
    - <my-cloud-application-url>
    secretName: my-cloud-application-tls
  rules:
  - host: <my-cloud-application-url>
    http:
      paths:
      - path: /oauth2
        backend:
          serviceName: oauth2-proxy
          servicePort: 4180
Create a file called oauth2-ingress with the contents of the listing above anduse kubectl to create the endpoints:
kubectl apply -f oauth2-ingress.yaml
Step 5: Test the Endpoints and OAuth2 Workflow
Once the NGINX endpoints come online, test the configuration by navigating to <my-cloud-application-url> in your web browser. You should be redirected to your GitLab sign in page.
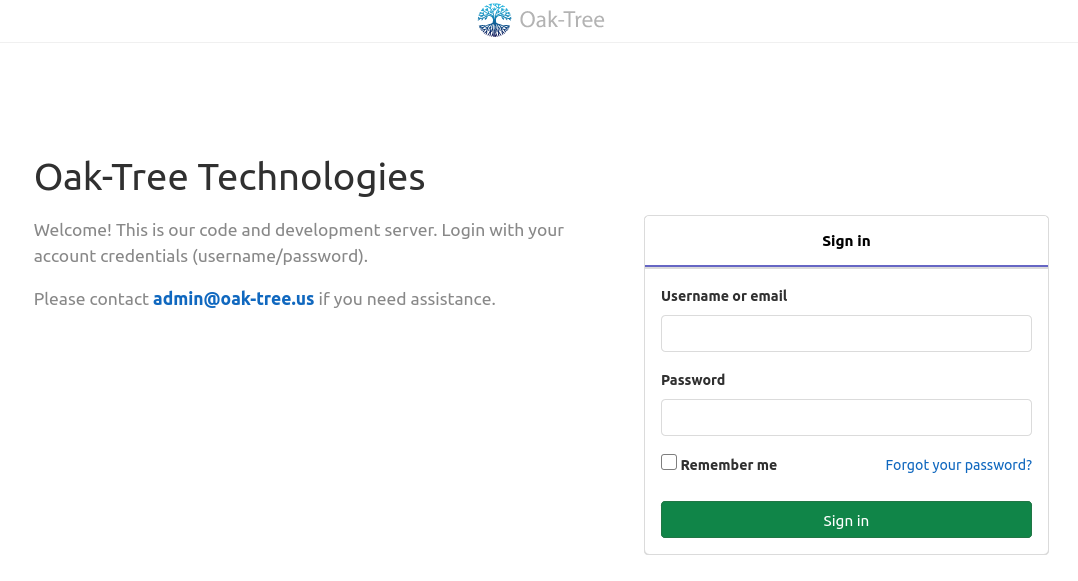
Enter your credentials and click "Sign In." After successful authentication, you'll be redirected back to your secured application.
Comments
Loading
No results found